Last updated: 6/22/2026
The Seller Dashboard on Branabee is the main hub for the seller’s experience, as it serves as the place where you manage products, orders, sales, and setting up how you get paid. Here is a step-by-step guide on how to use the Branabee seller dashboard:
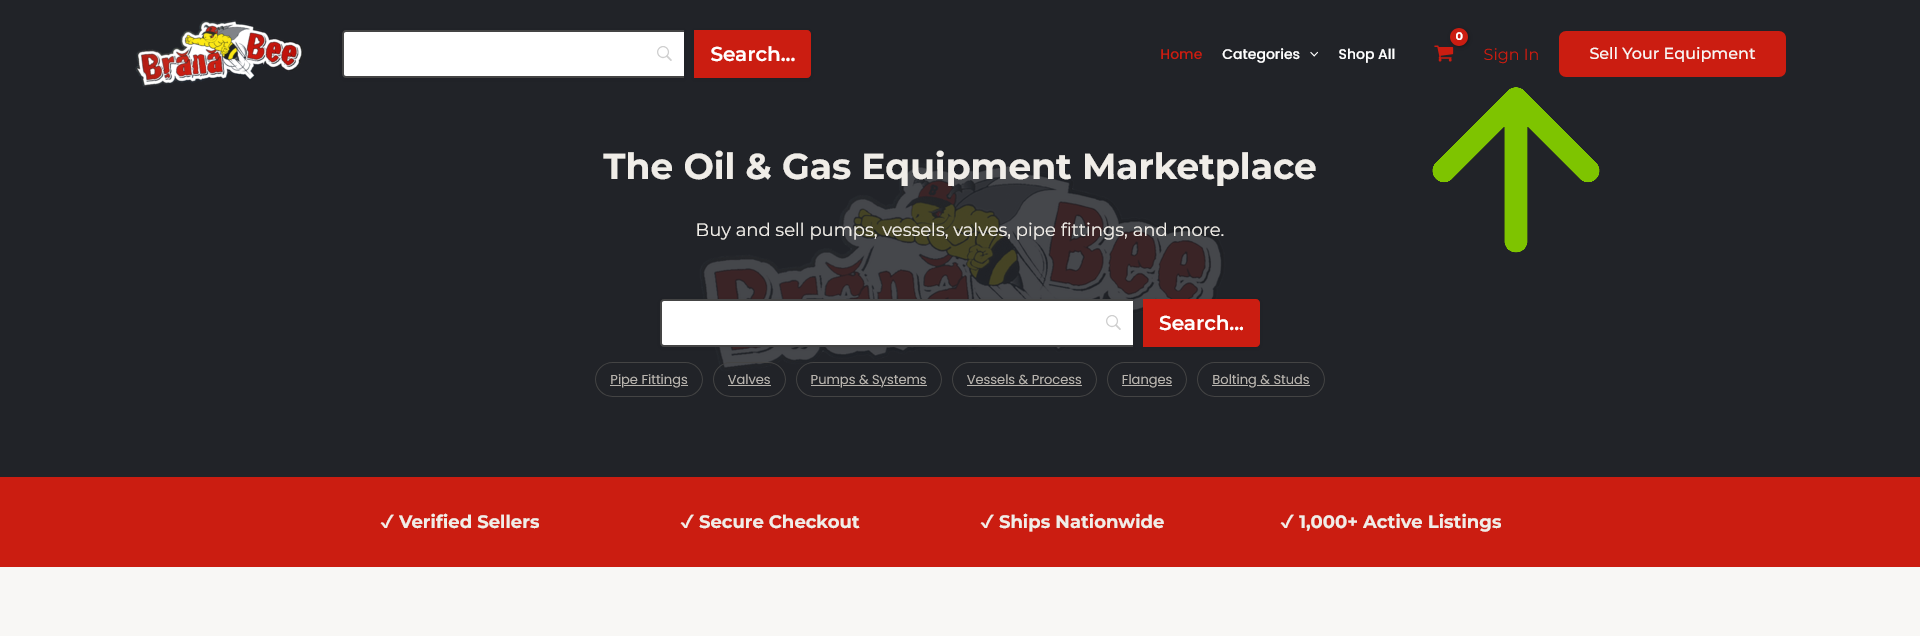
Step 1: Login
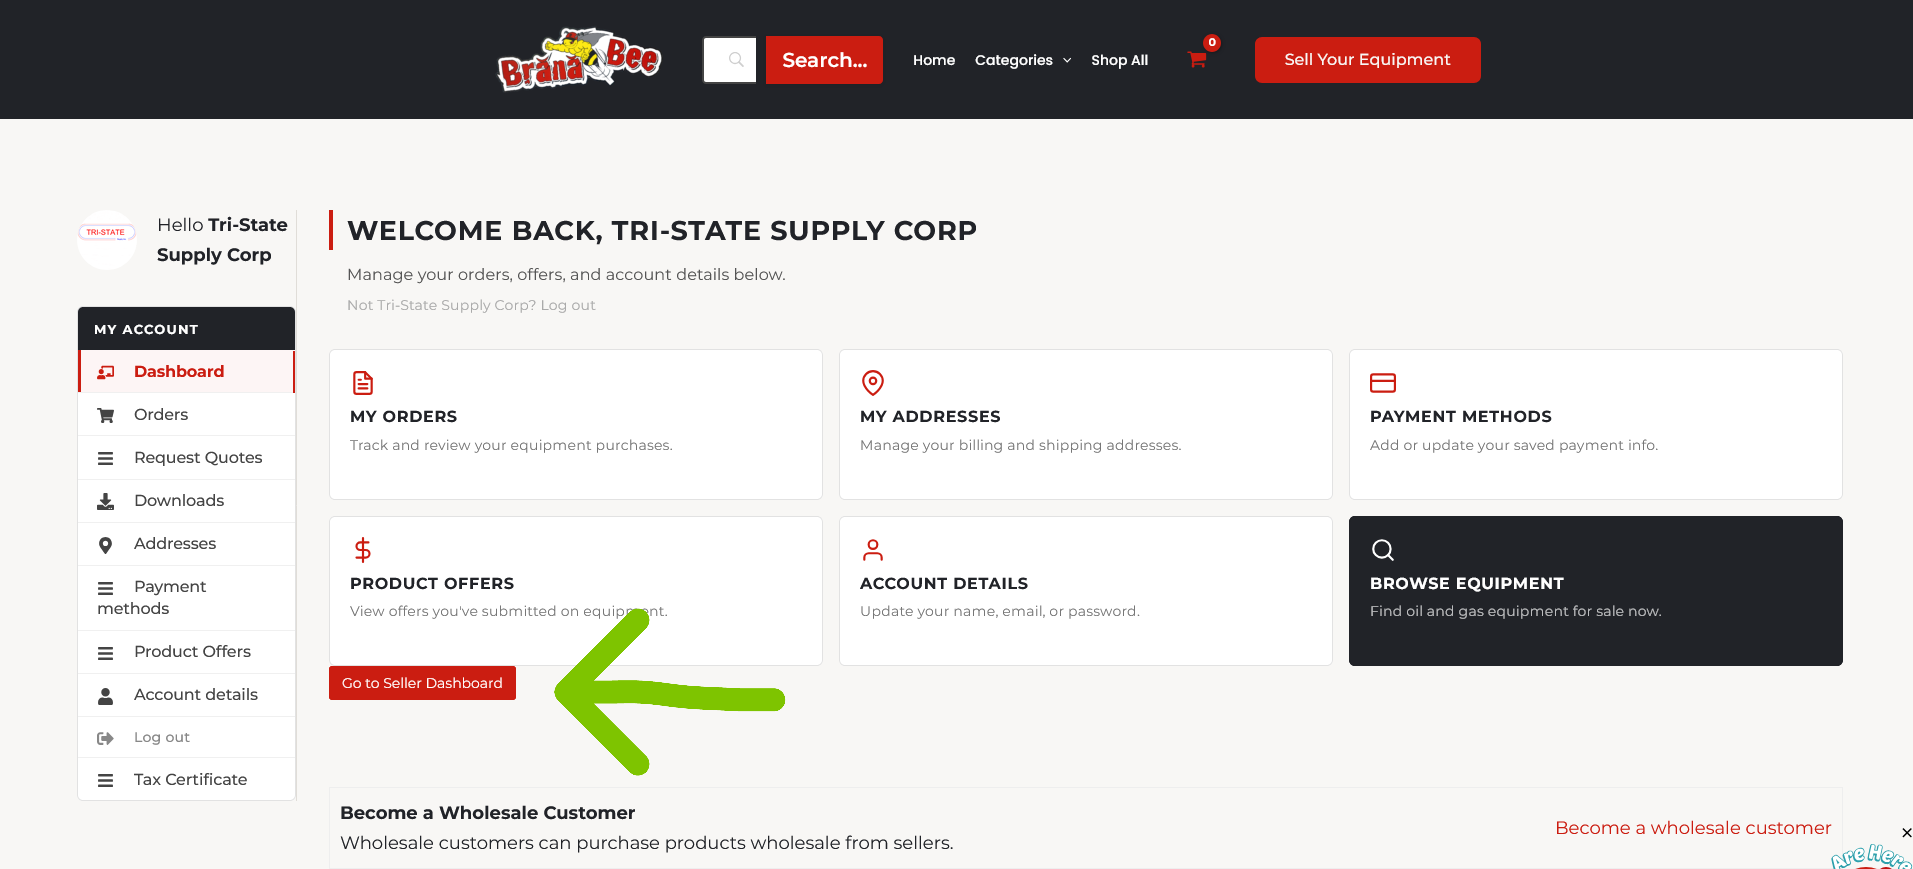
Login (or register) and navigate to the Seller Dashboard – As a seller, you can access the Seller Dashboard by logging in to Branabee and navigating to the Branabee seller dashboard.
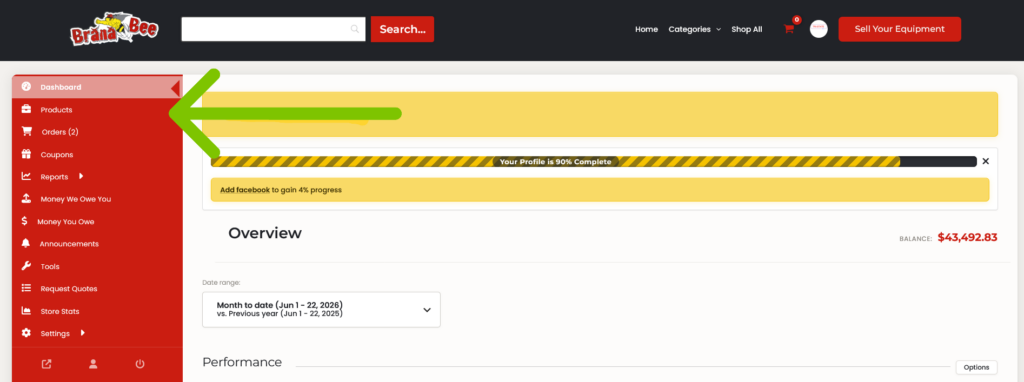
Step 2: Overview of Seller Dashboard
Once logged in and at your Seller Dashboard, you will notice an overview of your shop’s performance, any announcements from Branabee, and more. Notice the options on your Dashboard to the left.
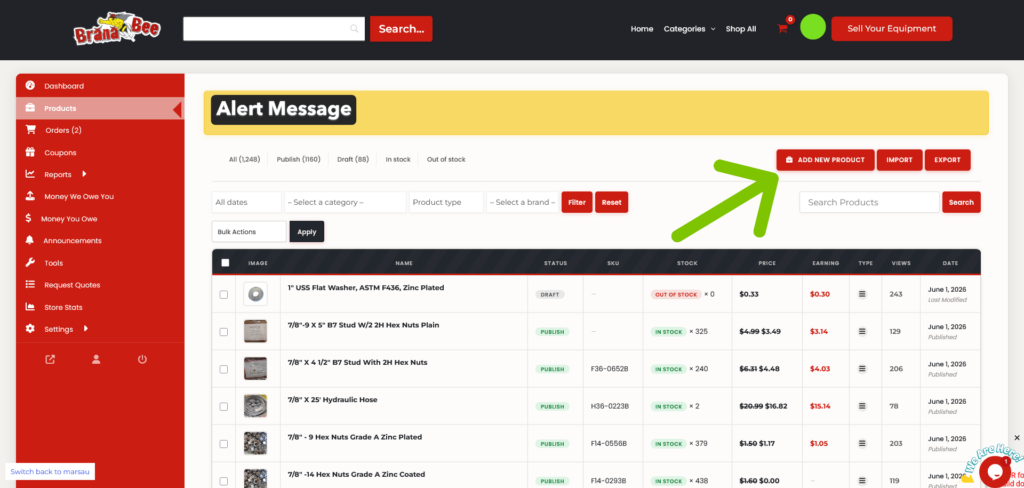
Step 3: Add Products
To add a new product, navigate to the ‘Products’ menu and click on “Add New Product.” You will then be directed to a new page where you can enter the product name, description, price, and other details. You can also upload product images, select product categories, and add product tags. When you are finished, click “Publish” to add your product to your store. For more information on adding products, check out our article on how to add simple products. Also check out how to add products that vary by certain parameters(variable products).
Step 4: Manage Orders
The ‘Orders’ page will allow you to manage all of the orders that you have. You can see the order details, such as the customer name, order status, and payment status. You can also change the order status, add notes, and send emails to customers. The orders page also allows you to filter orders by date, status, and payment method.
Step 5: Quote Requests
If you have this option set up, this page will show you any requests for quotes from customers.
Step 6: Coupons
The Coupons page will allow you to create and manage coupons for your store. You can create coupons for a specific product or category, set the discount amount, and set an expiration date. You can also view the coupon usage and filter coupons by date. After clicking ‘Coupons’ you will notice two tabs. One for coupons you’ve created, and one tab for coupons created by Branabee. To create a coupon, simply click on ‘Add New Coupon’. You will be taken to another page where you can edit the details of your coupon. Be sure to click “Create coupon” at the bottom of the window.
Step 7: Reports
The reports page will allow you to view your store’s performance over time. You can see information such as total sales, orders, products sold, and customers. You can also filter reports by date, product, and customer.
Step 8: Reviews
Reviews are left from previous customers and are Approved, Trash, Spam, or Pending. You can click to sort the reviews. Approved reviews are then viewed by customers.
Step 9: Withdraw
This page is how you request the funds from your account on Branabee. Here you can view your current balance, withdraw the funds to your account, set up a withdraw schedule, set up payment methods and more.
Step 10: Badges
Seller badges help us and our community identify sellers with good selling history on our Marketplace. Customers can see your badges you earned by your hard work, which improves trust.
Step 11: Return Request
On this tab, you will be taken to the area where you can view and manage your returns requested by customers.
Step 12: Reverse Withdrawal
Branabee makes a commission on sales made. The Reverse Withdrawal tab will show you a report on amounts owed and paid to Branabee.
Step 13: Staff
When you click on ‘Staff’, you will come to a page where you can manage your employees. To add your first staff member, click ‘Add New Staff’. Fill out their information on the form, then click ‘Create Staff’. They will get an email containing a link to their new account. Important: You will then need to control what this staff member is allowed to see and do in your store. We call this managing permissions. Go to the Seller Dashboard>Staff. Under the staff member’s name, you will see options appear. Click ‘Manage Permissions’ and you will be taken to a page with more details to choose from for this member. Contact Branabee support if you need more help with this.
Step 14: Store Followers
Store followers receive updates and emails when you add new products. This is where you find that list.
Step 15: Booking
The ‘Booking’ tab will take you to a page where you can view and manage any bookable products you might have. This is a complex feature on Branabee. If you have items that can be rented, places that can be booked, or something purchased temporarily, this is a powerful way to manage that. We have removed Bookable products for the time being.
Step 16: Analytics
Get a glimpse of what users are doing when visiting your store and products. See where your users are coming from, where they are visiting, and gain insight/feedback to help improve your selling strategy.
Step 17: Announcements
Here you will find messages from the administrators at Branabee.
Step 18: Tools
Currently, the only tools in this section allow you to import and export CSV files of your products. More on that later.
Step 19: Auction
click this tab, and you will notice a lot of options to view and manage auctions on your store. More on that later. We have taken auctions away for the time being.
Step 20: Support Tickets
This is where you manage support tickets from customers that submit problems and questions from your store’s page on this tab.
Step 21: Settings on Seller Dashboard
If you hover over settings, you will notice a menu appear. There are a number of settings you can adjust to your liking, such as:
- Store – Edit the details of your store profile on Branabee easily. Add your location, hours of operation, a banner photo, and set up a live chat option when visitors need help. More on that later.
- Add-Ons – Product Add Ons are features customers can tack on to their purchases, like custom names, premium options, special gift wrapping, or something you create. More on this later.
- Payment Method – This is where you add payment information and connect your store to an account from which you’d like to receive funds from your store on Branabee.
- Verification – By going through our verification process, customers will be able to better trust that they are shopping with someone who’s gone through an approval process with our marketplace. You’ll get a checkmark showing you’ve been verified once completed.
- Shipping Settings – This tab will take you to a page where you can edit and control the methods in which you ship your products. We’ve done our best to make it as customizable for you as possible. More on that later.
- ShipStation – Once you have an account with ShipStation, you will be able to enter our Authentication key and sync your store’s orders to ShipStation to effectively ship orders.
- Social Profile(s) – Here you can add the links to all of your social media accounts for visitors to find and follow you.
- RMA – This page is for you to set your Returned Merchandise Policy. Please note that you must follow Branabee’s guidelines or risk being removed from the marketplace.
- Store SEO – This tab will allow you to set Search Engine Optimization settings for your online store. More on that later.
We hope this helps better explain your Seller Dashboard, and that you found this helpful! For any questions, please reach out to Branabee Support.
As always, you can follow us on social media. Check us out on LinkedIn